Since the last entry describing the construction, we’ve been focused on a broad range of activities including some work off-site at Carleton University. Here’s a short list of things we’ve been up to:
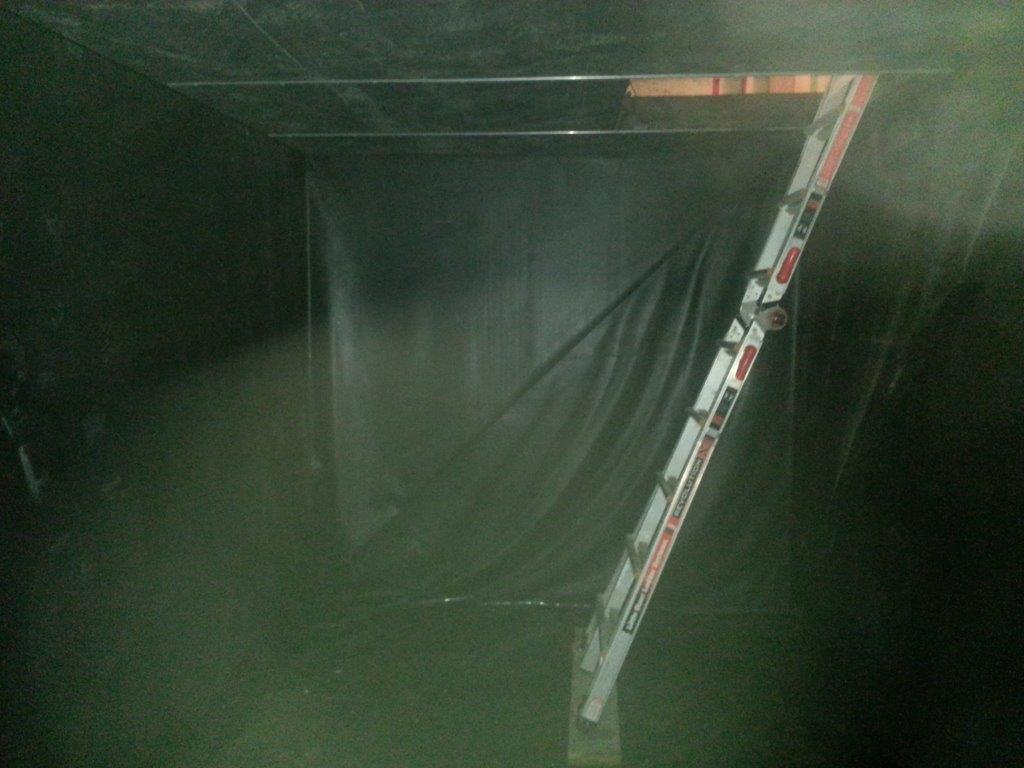
Rainwater Store Cover
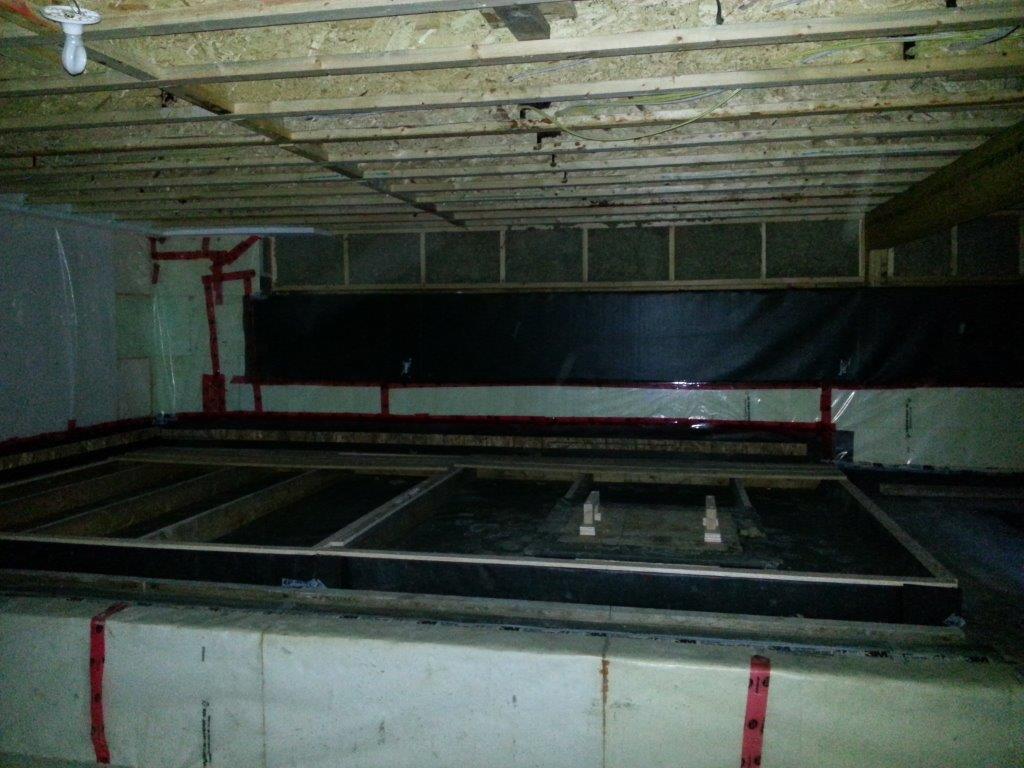
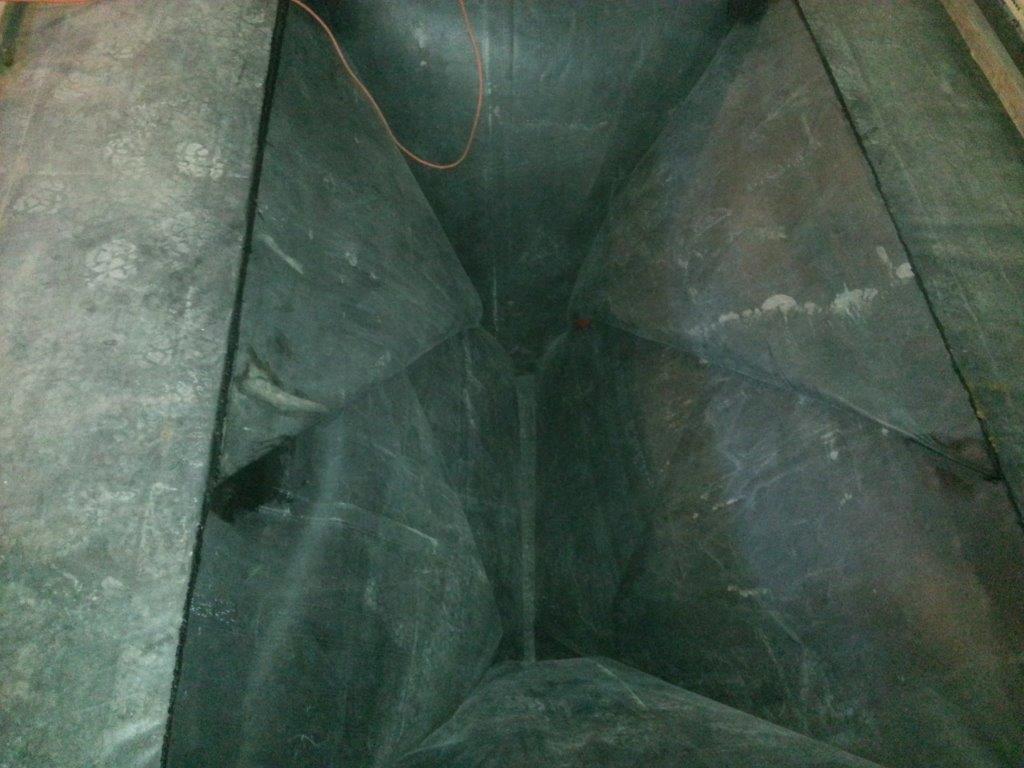
Inside Rainwater Store
• Rainwater Store. We’ve completed the installation of the liner with inlets and overflow outlets and sealing to the foundation. We also built and installed the lid with its hatch, then sealed the entire assembly to make it air and water proof. The system will remain incomplete until after occupancy in order to expedite construction. Future work includes connection of the roof downspouts to the tanks, plus installation of pump and connection to toilets and outdoor irrigation system.
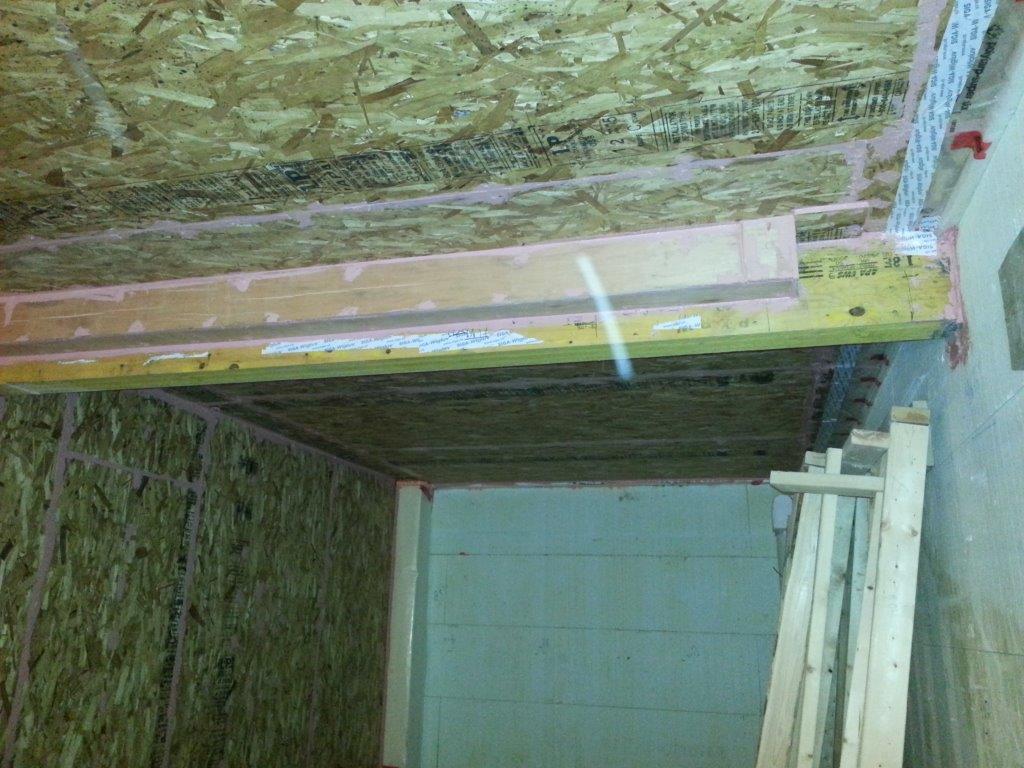
Sealed Root Cellar
• Root Cellar. Walls were built to separate the root cellar from the rest of the basement. The ceiling of the roof cellar is also on the underside of the floor joists for the main floor, and since it was being closed in, a capability to ventilate that cavity needed to be installed before the ceiling became airtight. Once the root cellar was airtight, we covered the walls and ceiling with an additional 8” of Expanded Polystyrene (EPS) foam, then another 2”x4” structure for support with more insulation. This structure will be further covered with plywood as an ignition barrier and serve as the finished wall.
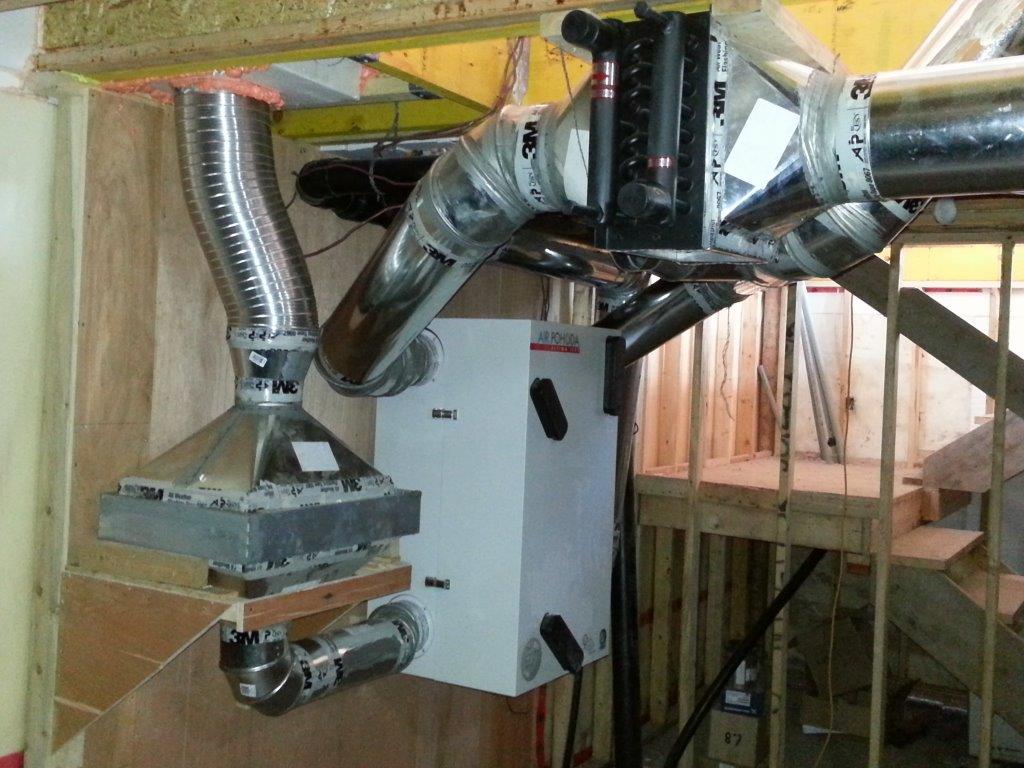
ERV with Heat Exchangers
• ERV and Heat Exchangers. The ventilation system is virtually complete. Two heat exchangers are now installed and will leverage the moderating temperature of the earth to provide heating or cooling benefit at different times of year. In the winter, glycol from one set of tubes buried underground will be used to pre-heat the cold winter air as it comes into the house. In the summer, water from another set of buried tubes will cool air after it leaves the ERV (energy recovery ventilator) and is on the way to the various rooms. Remaining work includes insulation of ducts on the exterior side of the ERV.
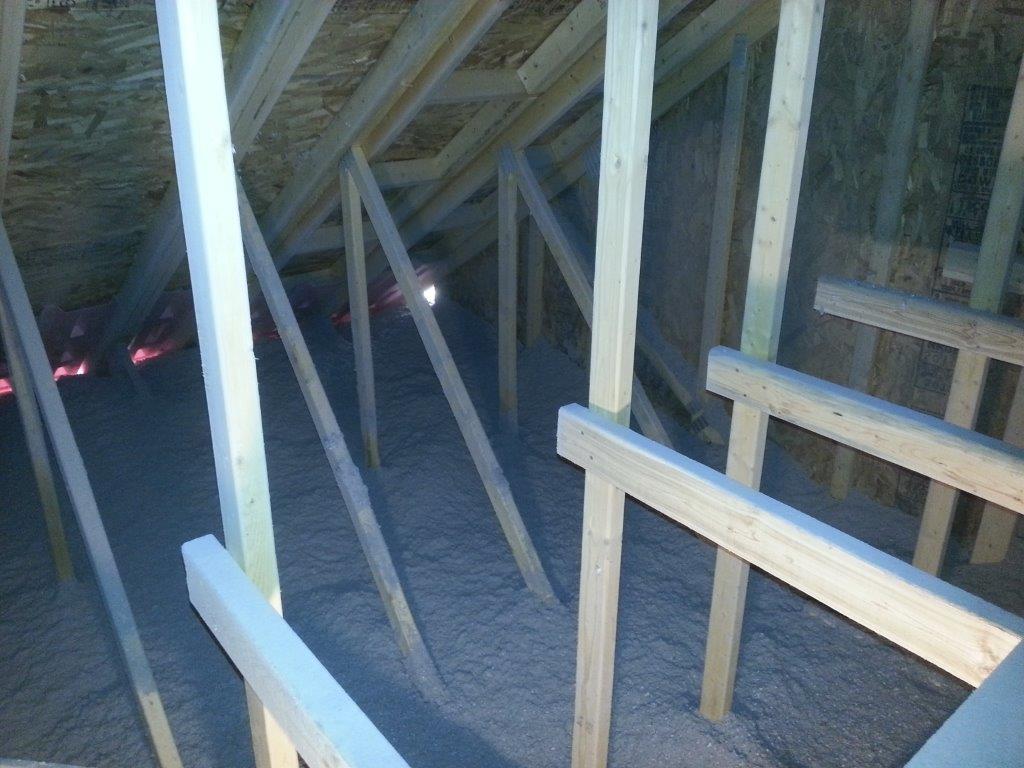
30 Inches of Cellulose
• Attic. The attic of the main house was blown with 30” of loose-fill cellulose. Fortunately, the day we did it was cool, so it wasn’t too hot working in the attic. The attic hatch was an interesting challenge to design and build as it had to be of commensurately high R-value (R-100), airtight and strong enough to withstand the movement of people through it.
High Temperature Storage Tanks
• Airtightness. We’ve been testing the airtightness of the house with a blower door. After some fits and starts learning how to operate it properly, we used it to depressurize the house and finds leaks we otherwise couldn’t locate. With the leaks taken care of, we finally found out that the house was very airtight. Interestingly, we found that there is quite a bit of air trying to get into the house through the soil. The liners on the long term rainwater and high temperature stores were all getting sucked inward significantly under the negative pressure (vacuum). Assuming our calculations are correct and that we’re using the door properly, we’re at 0.31 air changes per hour at -50 Pascals pressure differential (0.31 ACH 50). The stringent Passive House requirement is 0.6 ACH 50, so it looks like we’ve surpassed it and are virtually twice the level of airtightness needed. Whew!
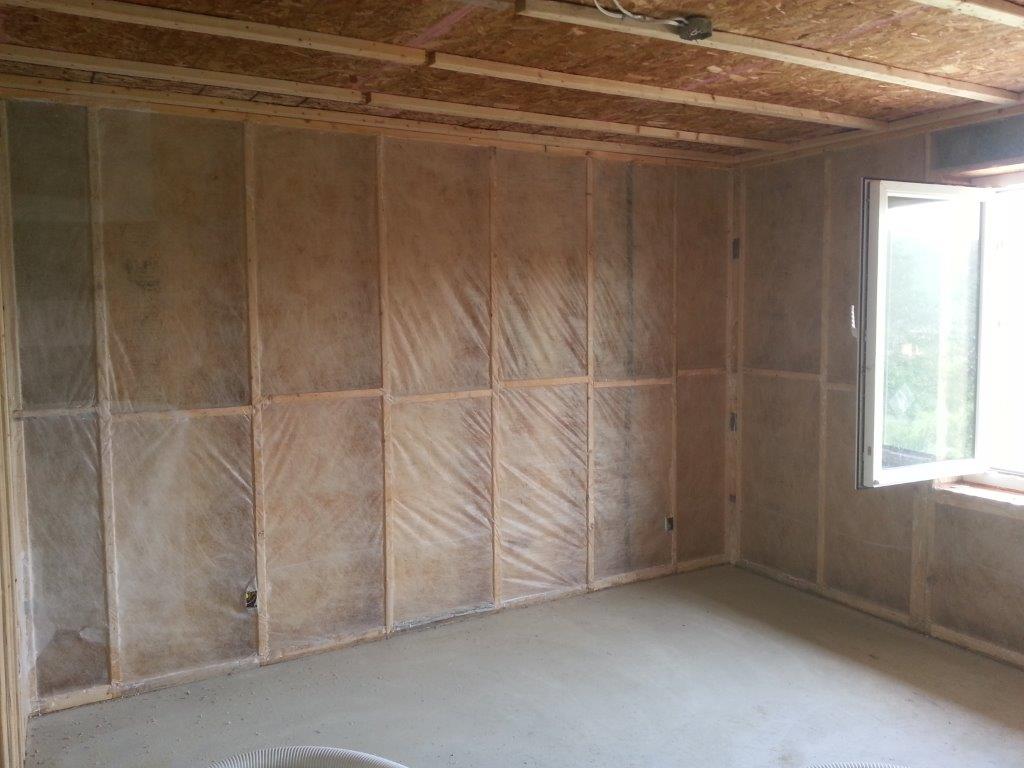
Walls Prepared for Cellulose
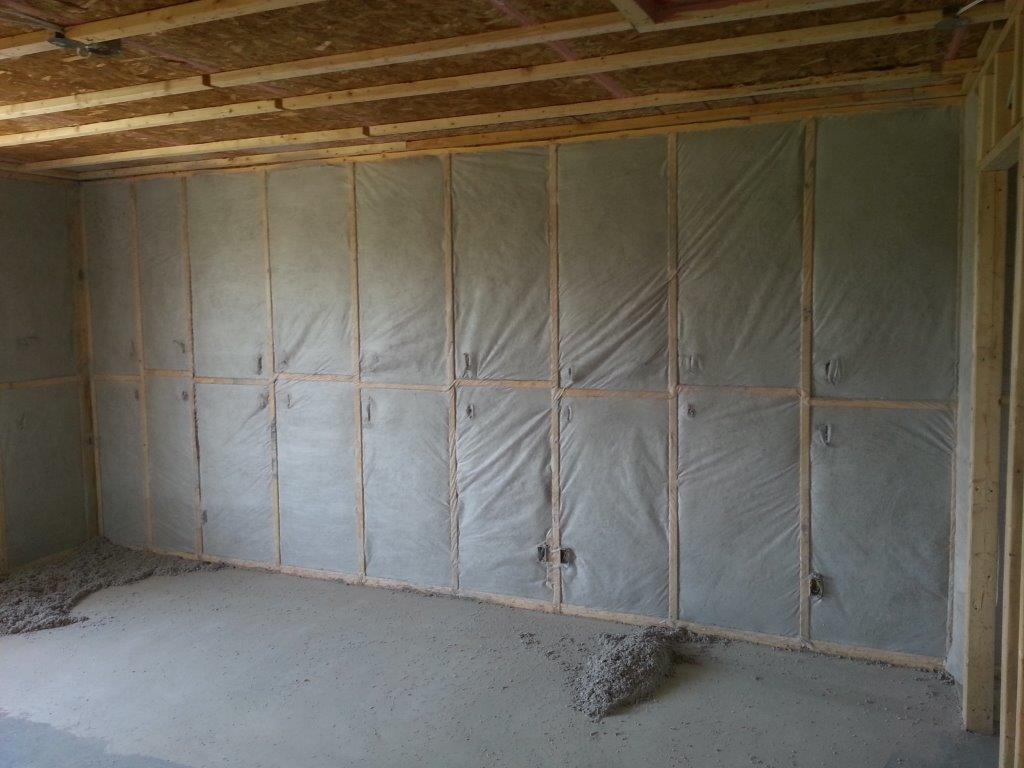
Walls with Cellulose
• Interior Insulation. Our walls have two sides: the structural 2”x6” wall with OSB sheathing and the 16” Larsen Trusses suspended off the walls on the exterior. The Larsen trusses were dense-packed with cellulose as they were constructed over the winter and spring. The interior side of the walls, however, were netted with a spun synthetic cloth and dense-packed with cellulose from the interior. So far, the upper floor is now complete and the lower floor is netted and waiting for the plumbing to be done before being blown with cellulose.
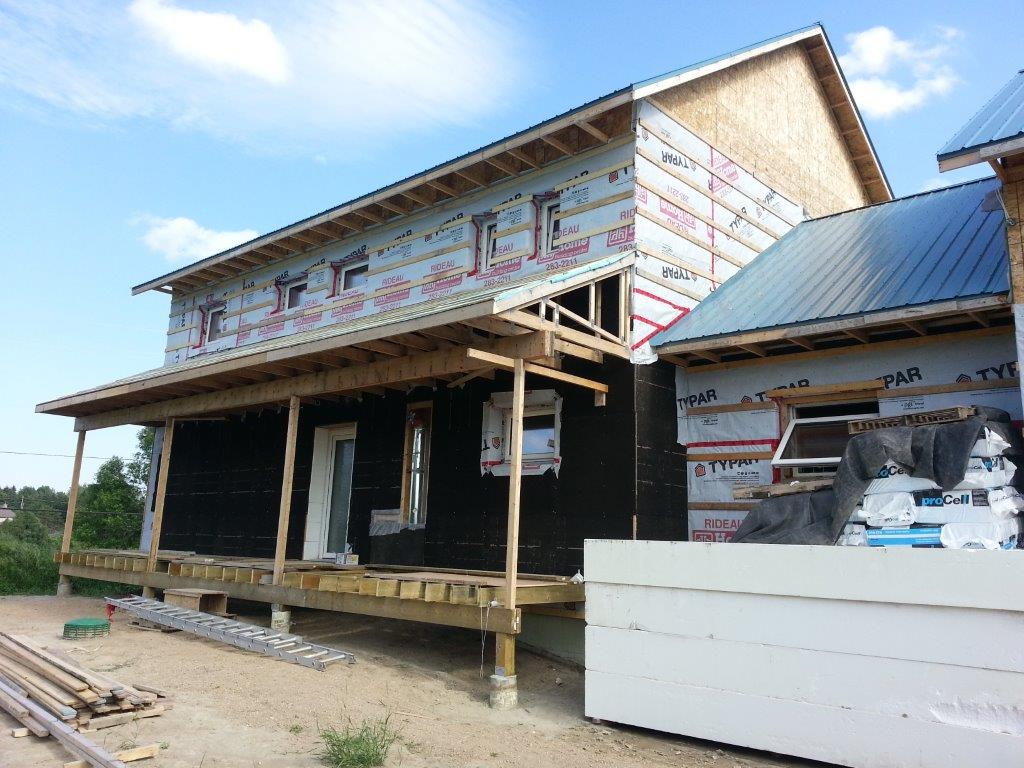
Back Deck
• Back Deck. The roof of the back deck has been completed (minus the steel), and the cedar columns and decking are on. It is a nice place to sit on a hot sunny day when the wind is moving and affords a nice view of the river and a local Osprey nest.
Radiant Ceiling
• Radiant Ceiling. Because the laundry room is over the long-term thermal store, its floor has to be removable for maintenance. The radiant heating source had to be the ceiling. We designed and built a custom system to accommodate the hydronic tubing and heat transfer plates so that the drywall could be installed over top (well, actually underneath).

Over-insulation Around Windows
• Window Over-Insulation. Our windows sit inside a 12” buck, allowing them to be inserted midway through the wall for optimal thermal performance. Performance is further enhanced by adding EPS foam on both the interior and exterior sides of the window to reduce the window frame’s thermal bridging.
• Open House. A day of tours brought in 128 interested people. Lots of locals, but some from as far away as Southern Ontario. We also had our Klearwall window sales Rep – Patrick – on-hand to explain the windows in greater detail. The windows are a critical part of our system. I was exhausted by the end of the day, but it was well worth the effort and seemingly well-received by all who attended.
Next Steps. We’ll be completing the plumbing while this posting goes online. Over the weekend, some minor details got resolved so that the main floor’s walls can get dense-packed with cellulose. This will put us in order for drywall boarding, mudding and sanding in another week’s time. After that the job will be all about finishing details: painting, doors and trim, electrical fixtures, cabinets, appliances, plumbing fixtures, flooring, exterior siding, etc. – the house will all begin to look even more real and less like a distant vision. The active renewable energy systems will follow occupancy. Can’t wait!
Looking great! Your hard work and dedication to your vision is inspiring!
Nice build project.
How are you goin about deciding which drywall to use?
I’ve always used GP DenseArmour for its fibreglass waterproof. Buts it’s more expensive and heavier. Especially in wet area. Your place has lots of radiant, is it hydronic?