The frequency of blog postings has been slowing down, but work has continued at a decent pace. In April and May, we dense-packed the North wall, completed the steel roofing, roughed-in the electrical, began insulating the rim joists above the sill plate, and started on the hydronic floors. Among these, are a few are very “regular” things; meaning that there was nothing advanced about them. Most things, however, still require closer attention in some manner, or had significant diversions from standard practice. Let me explain…
North Wall. The North wall varied from the other Larsen truss walls in that it had a deck roof sticking through it. The roof trusses were fixed to the wall alongside the Larsens and supported at the heel with a small ledger block. Also, they were each paired up to a Larsen truss and nailed together. Sheathing and filling techniques, of course, had to be slightly modified. Working above the deck roof trusses was made possible by the creation of a wooden scaffold system fixed directly to the trusses. With that, we were able to get right up to the eaves and to install the air vent channels into the attic.
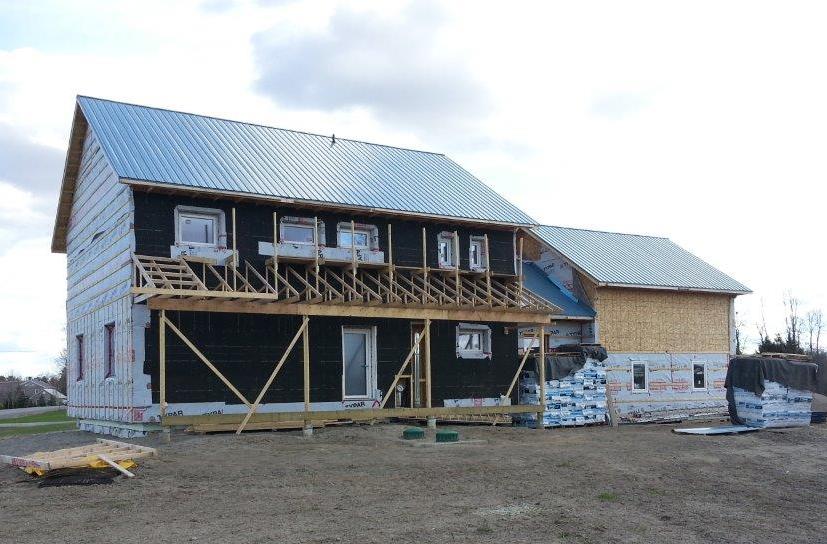
Steel Roof on North
Steel Roof. The North side of the main house finally got its steel installed! We had to stop work on the steel roofing in December when the snow was here to stay. We couldn’t get a date when we could get a crew together and where the weather was such that we could clean snow and ice off the roof deck. It was with great relief that an opportunity came late in April, so we could be ready for the spring rains. Fortunately, the underlay material was applied very well and there were only a few places where water dripped through in the interim. With the steel on now, we’re one step closer to completing the attic insulation.
Electrical Rough-In. The garage and main house were roughed-in with electrical circuits at the end of April.
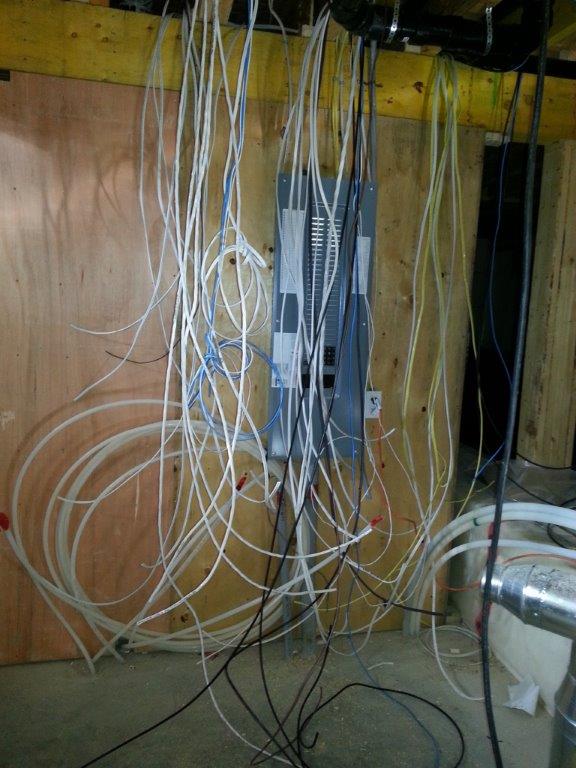
Electrical Spaghetti
Although largely straightforward, there are some departures from standard practice including:
- All garage circuits are on a separate sub-panel. Consistent with our concern for the house’s air barrier, a single large gauge wire was run from the main house to the garage, limiting the number of envelope penetrations. The garage section of the house has its own panel with a large number of circuits, some of which are for heavy power consumers. It supports a workshop on the second floor, a shed on the South side, and the garage itself where there are the two circuits for Electric Vehicle (EV) charging stations plus another for the clothes dryer. We don’t yet have a modern condensing dryer, but when we do, it will be installed inside the laundry room. In the meantime, our old dryer will be placed in the garage because it is an appliance we hardly use and because it needs direct ventilation.
-

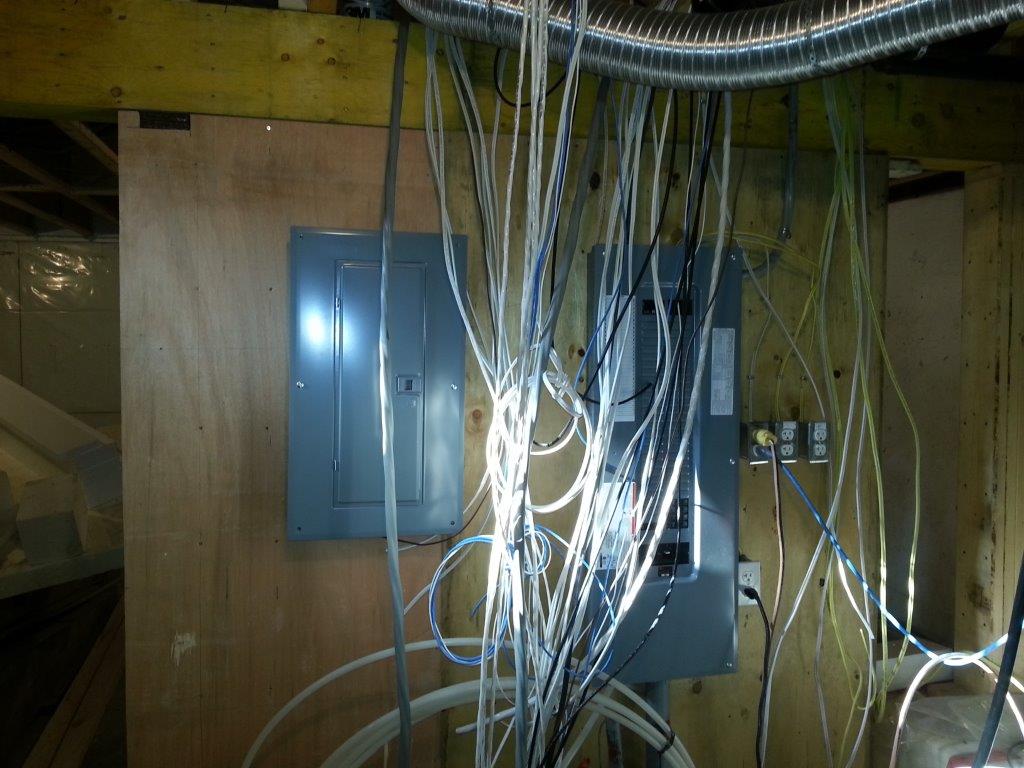
Main & Off-Grid Panels
A separate sub-panel was installed in the mechanical room for the off-grid (actually grid-interactive) PV system. This system will supply uninterrupted power to critical systems, allowing the house to function continuously during grid failures. This sub-panel will support the solar thermal collection system, well pump, hydronic heating, ERV, refrigerator, plug loads for computer and internet networks, radio, and some LED lights. With these, we’ll have running hot and cold water, heating, cooling, ventilation and protection against our food going bad, even if there is another protracted power outage like the ice storm. Until the off-grid system is installed, this panel will be supported with grid power.
- Kill switches to counter-act phantom loads. In rooms where it is anticipated that appliances like televisions and consumer electronics will be located, circuits have been installed, with a kill switch, to make it easy to definitively eliminate the phantom power draw of these devices.
- Choices were made with LED lighting to stick with standard assemblies, not the ones that would have to be replaced in their entirety if the LED bulb failed. We felt more comfortable with this approach given that the market for LEDs is rapidly evolving. Furthermore, when any of the unique LED units fail, we think it might be unlikely to find exact duplicate replacements. Sticking to standard format bulbs should relieve us of those risks; we’d just continue to replace bulbs.
- No attic circuitry. All ceiling fixtures are supplied with power that is run below the air barrier (Oriented Strand Board (OSB) beneath the bottom chords of the roof trusses) and in the 2”x3” strapping layer. It is done this way to reduce the risk to air barrier integrity. One dead-ended circuit was added to the attic for future growth potential. The wire was given special sealing attention where it entered the attic.
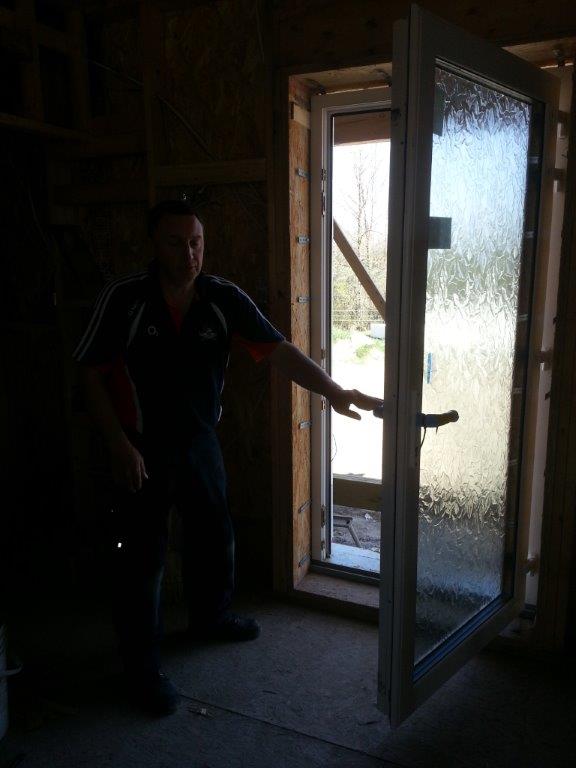
Sliding Door
Windows & Doors Tuned. Our windows and doors were manufactured by Munster Joinery in Ireland and ordered through their US company, Klearwall. Last week, we received technical support from them in the form of a technician – Gerald – who came to us from Ireland. “Ger” was here to show us how to adjust each of the different types of windows so that they would open and close flawlessly. Apparently the trans-Atlantic shipment causes some components to shift a little. Ger also replaced a glazing unit in the door at the primary entrance (the North door, not the sliding glass door on the South).
Rim Joists Insulated. The area over the foundation wall in the basement is a transition zone for the thermal Basement insulation is on the inside, and upper floor walls are insulated mostly on the outside. This makes the sill plate and rim joist area a transition zone that must be insulated. But super-insulation also brings other concerns: we need to consider the migration of moisture through the insulated wall assembly. This makes it important to design and place an effective vapour control layer in the right place and way to ensure that moisture problems don’t occur.
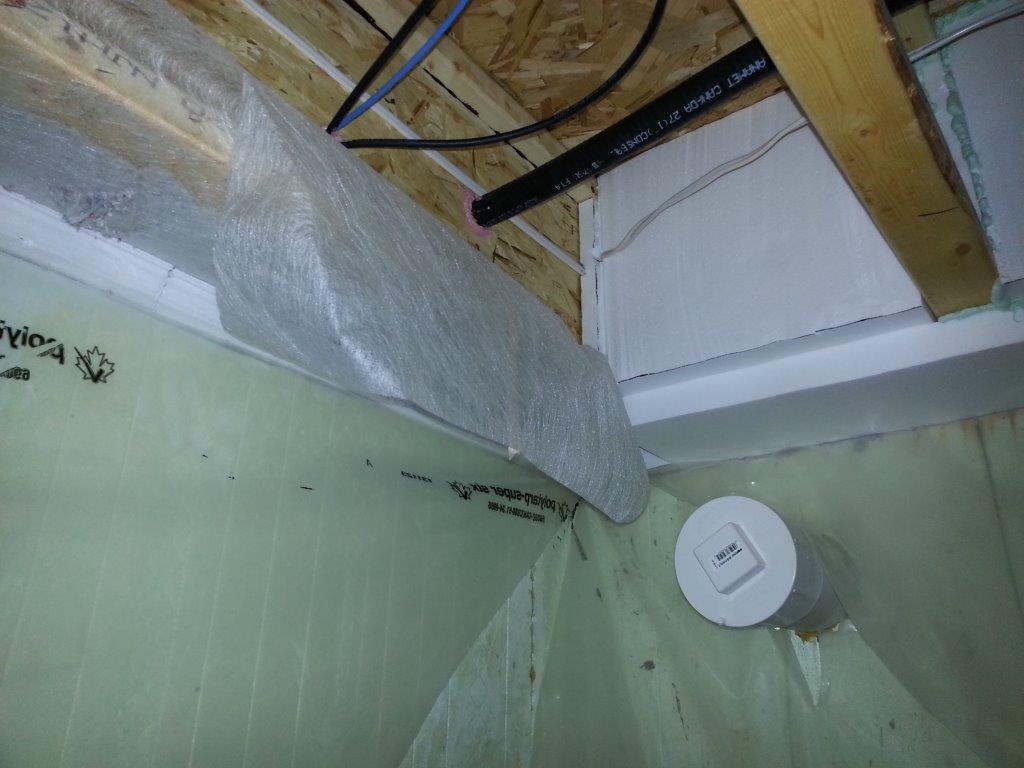
Rim Joist Insulation
For the areas at the end of the floor joists, we implemented a “cut and cobble” approach with Expanded Polystyrene (EPS). The blocks we used were cut to give a friction fit and the “warm side” was sealed with beads of low expansion foam.
For the areas on the East end of the wall, where the joists run parallel with the rim board, we dense-packed the cavity with cellulose. The poly film vapour barrier, that already passes below the sill plate, will be extended out under the floor joists where they will be sealed.
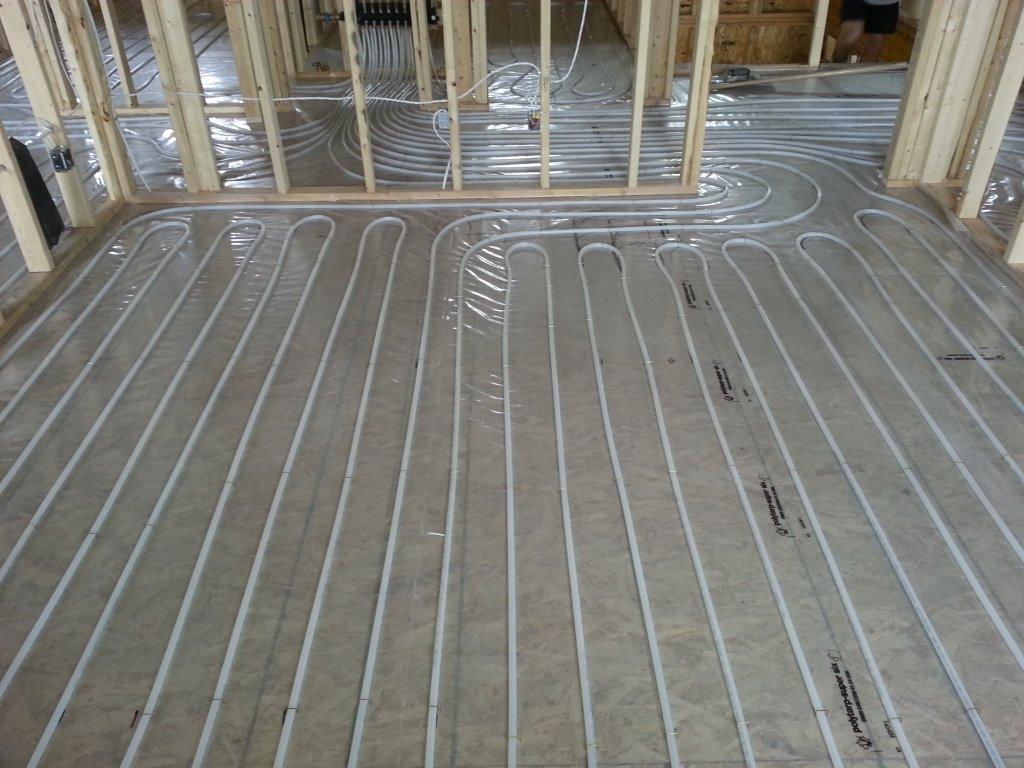
Hydronic Tubing
Hydronic Heating Tubes and Concrete Overpour. We began installing hydronic floor heating and cooling tubes upstairs in the main house (the garage and workshop do not get heated). For many who build Passive House, the use of hydronic heating is considered a significantly and unnecessarily expensive heating method. However, the unique objectives of this house – namely heating solely with solar thermal energy and cooling without the use of heat pumps – are made achievable by going this route. By installing a dense network of tubes inside a highly conductive medium (1 ½” concrete overpour), we are able to heat the house with very low temperature water (increases thermal storage capacity and efficiency) and at very low flow rates (reduces pumping power requirements). This technology also permits cooling with water from ground loops (tempered up, of course).
The tubes were installed over a layer of 6 mil poly. A pneumatic stapler was used to speed up the process and to hold the tubing down to the OSB sub-floor. For the upper floor, we mixed all the concrete by hand (crazy?!). It’s taken us a few days, but it gave us the time we needed to finish the concrete properly. In fact, we first started mixing concrete at a 3,000 psi ratio, but the combination of humidity, poly film below and the cement ratio kept the concrete from setting too quickly. In fact, the first batch was so slow to set that I did the final troweling the next morning, about 20 hours after placing it! I even sprinkled some cement powder over the concrete to assist with firming up and hardening of the surface. All subsequent concrete batches were mixed with an increased cement ratio, speeding up the finishing time and allowing me to get it done by last light, provided that we stopped mixing and placing by around 2 PM.
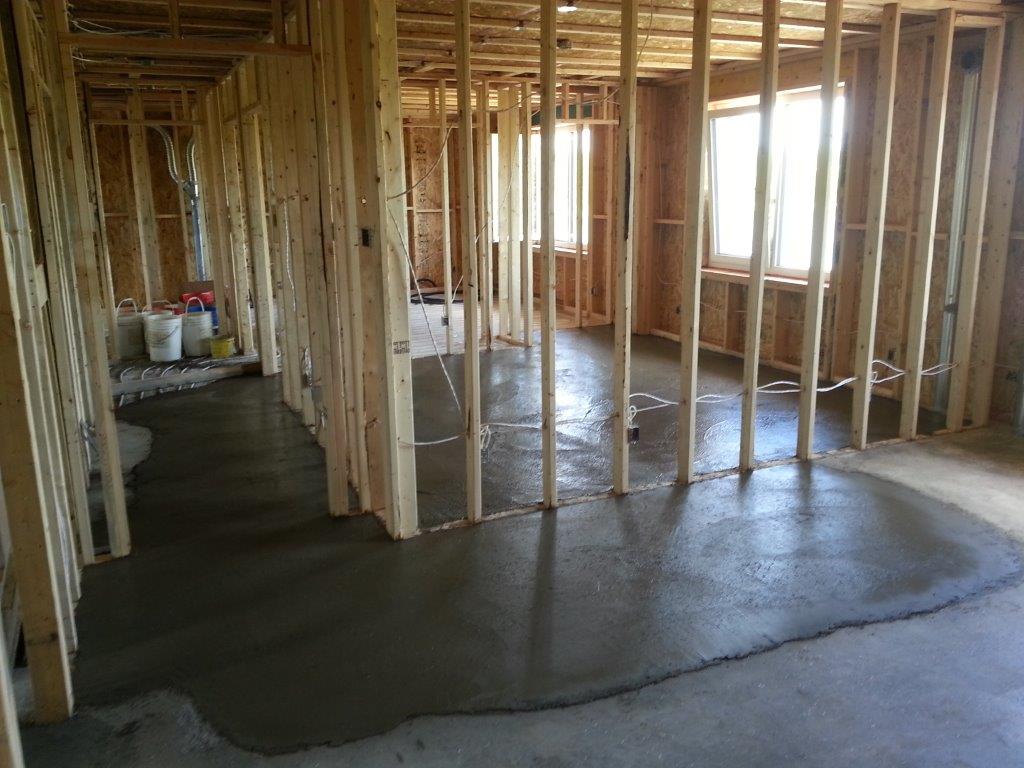
Concrete Overpour
One last point: instead of using steel mesh to reinforce the concrete overpour, we’ve been using fibre-mesh additive. Fiber mesh is simple to use, but it leaves a “hairy” finish with little fibres sticking up everywhere. Given that we don’t intend to use bare concrete anywhere, this isn’t an issue. If we were going to have a finished concrete floor, I would have used steel mesh reinforcement instead.
LOOKING AHEAD…we’ve been contracted by Carleton University to build an advanced solar thermal heating system for a special research facility – the Urbandale Centre for Home Energy Research (CHEeR) project. Actually, we designed it for the system for them as well. It is complex and the scope of work includes Apricus evacuated tube collectors and mounting system, the heat transport system and heat exchange with the loads. Loads include a Domestic Hot Water (DHW) system and two seasonal thermal energy storage vessels that employ different technologies. The system is highly instrumented with very precise equipment and is designed to have an adjustable control logic to support various experiments. A very unique aspect of the system is that the laboratory – a “house” by design – is off the water and sewer grid. Accordingly, the water being heated as DHW never leaves the site (“closed loop”), so the design incorporates a system to create flows that mimic DHW consumption and a means of cooling the water so it can be re-used as “fresh supply” to the DHW heating system.
We’ve already begun working on the Carleton project. We’ve been amassing the materials and putting together sub-assemblies at our construction site. However, installing the system at Carleton U will slow down our own progress in May & June. Just thought you should know…
As for our house, once we have the hydronic floors complete, the next stage will be the potable plumbing. We have a few unique features to incorporate into that as well, but you’ll have to come back later to find out about them. Don’t worry, we will let you know!
No comments yet.