Recently we’ve started making our Larsen Truss (LT) assembly. These are the vertical structures that suspend the surface of the exterior wall further out from the structural wall in order to accommodate a thicker layer of insulation. In our case we’re using 16” I-joists that are lag-bolted into the 2”x6” studs. Recall that our OSB sheathing is both our air-tight barrier and vapour barrier, making the LT a completely exterior layer. This is why we affectionately call the LT “the parka”. With its 16” of dense-packed cellulose, it will provide a very effective thermal barrier behind which we’ll be able to work through the winter in relative comfort.
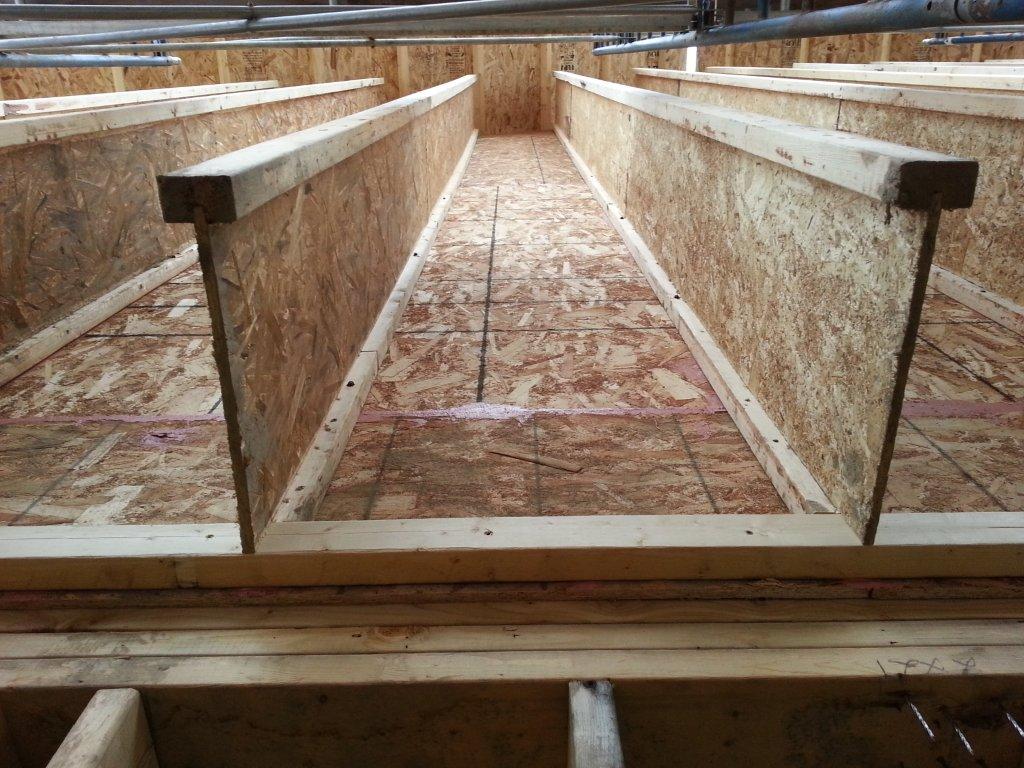
Photo #1
We’re starting the LT assembly on the second floor wall above the laundry room. Why there? Well, it is a section of wall that needs to be built before we can put on the laundry room roof (which we’d dearly like to get done before the big snow falls come). Photo #1 shows these LT’s.
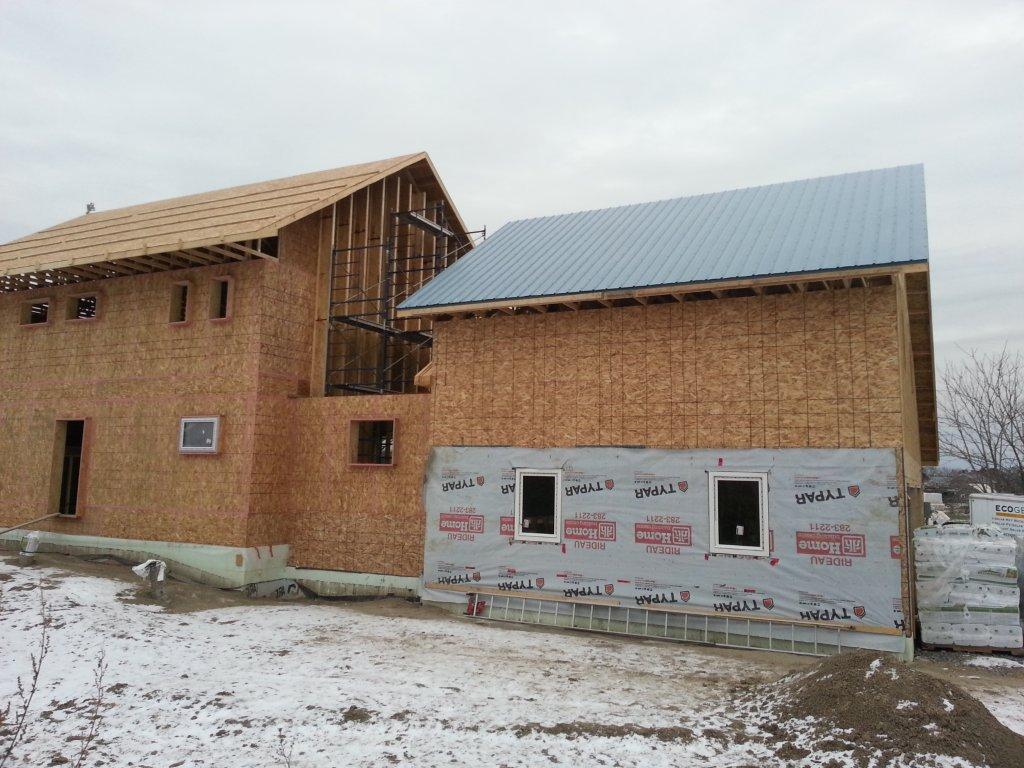
Photo #2
Regarding structural support for these LT’s, in addition to the attachment to the second floor studs, they are mounted on a 2”x3” ledger board (see photo #2) that is screwed into the rim board. The LT’s will also be sandwiched on the exterior side by a roof truss. All other LT’s on the house will sit directly on a concrete ledge extended out from the ICF foundation.
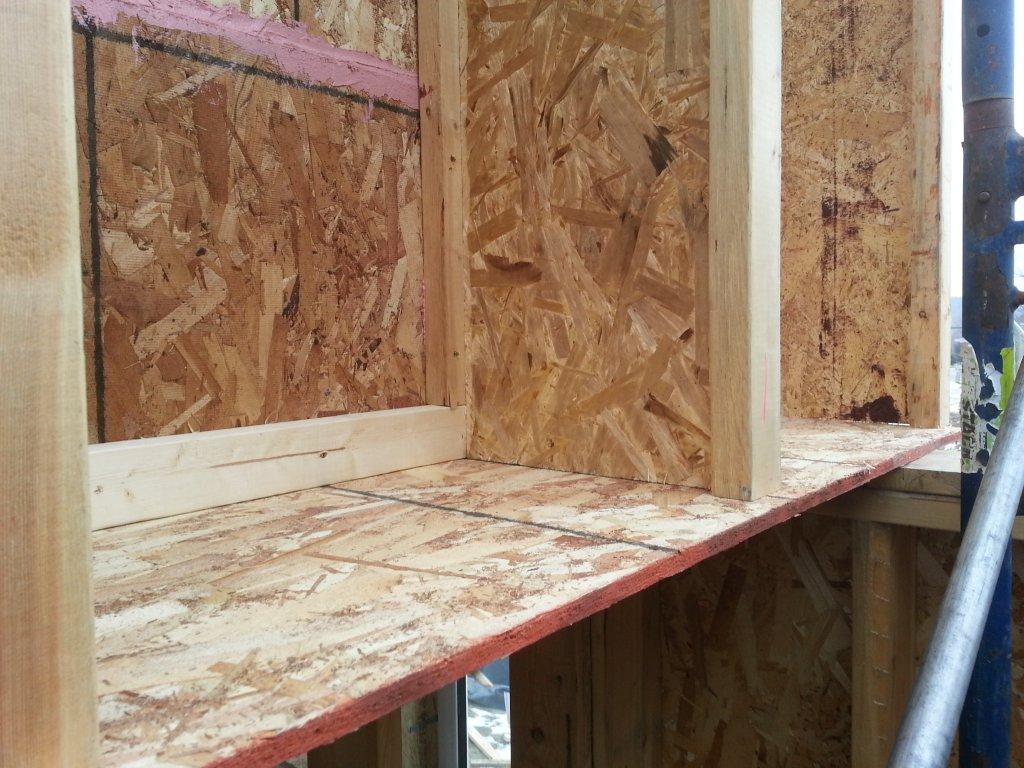
Photo #3
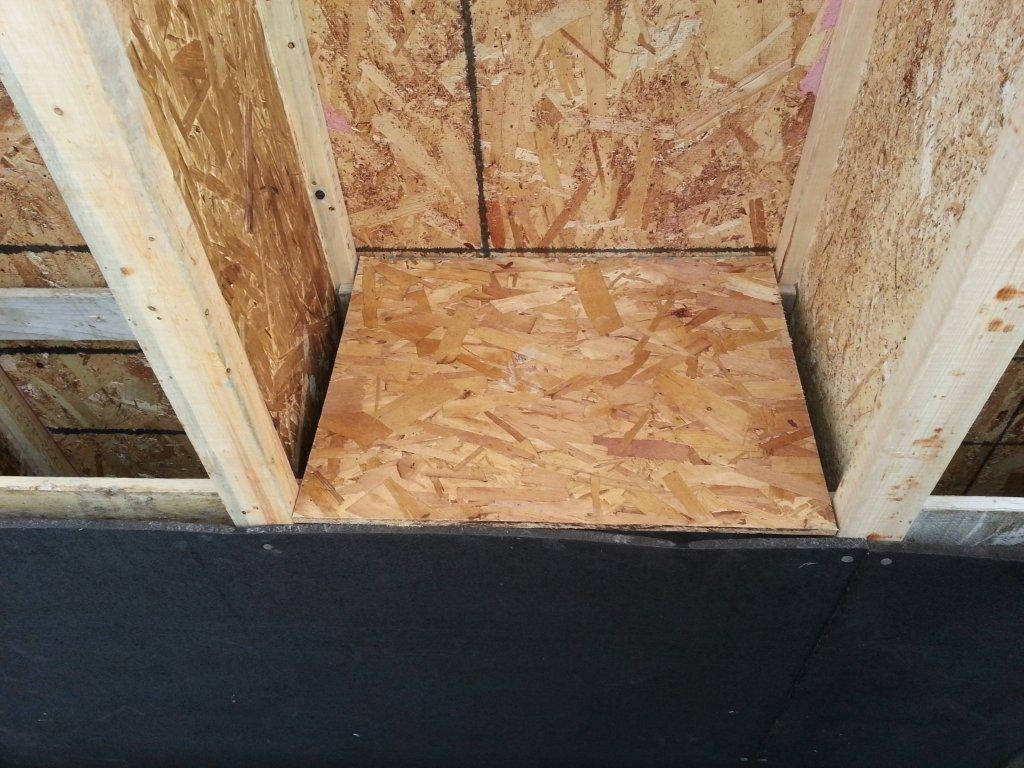
The LT’s will essentially create a series of vertical cells for the dense pack cellulose. The bottom of those cells will be Oriented Strand Board (OSB). Over the laundry room that OSB will also be the airtight barrier running across the ceiling. Photo #3 shows the cell bottom. In this case the OSB is cut wide enough to reach across the fibreboard that closes in the LT’s and is fastened onto the bottom of the closest roof truss.
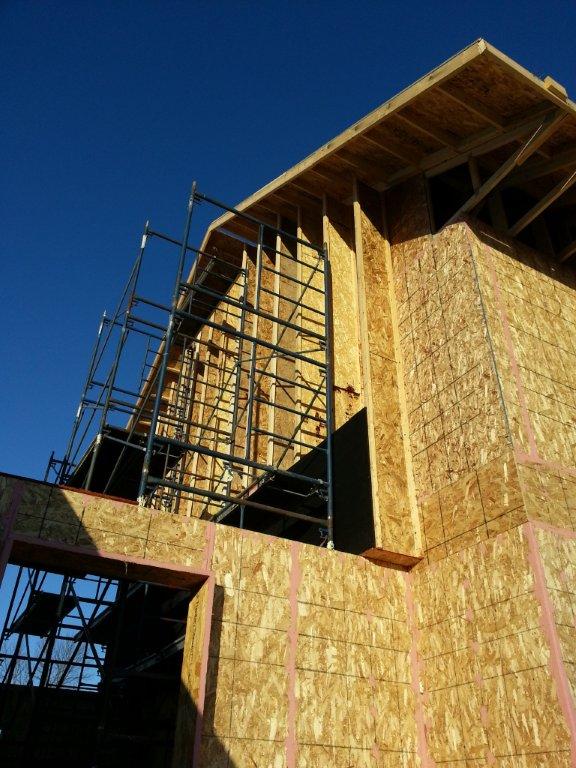
Photo #4
Photo #4 shows the fibreboard used to close the LT cells. This fibreboard looks a lot like the regular stuff you might have seen decades ago on most houses, known as “Tentest” or colloquially as “Black Joe”. However, this particular product has been specially selected for its physical properties. This material is much more “vapour open” to allow any moisture that might get in (either from the interior or exterior) to eventually work its way out as a vapour.
Photo#5
Photo #5 shows how we’ve inserted a cell divider into the column between I-joists. We’ve done this with two 1”x4” horizontal supports between I-joists and a plate of OSB sourced from off-cuts. The purpose of the divider is to provide support to the cellulose to counteract any risk of settling. There are differing opinions in the industry regarding whether or not dense packed cellulose will settle in larger cavities. Generally, dense packed cellulose will provide its own support due to internal pressure and friction with the walls of the cell. Also, the larger the cell, the higher the density needs to be. In our case, 16”x24” is a very large cavity and we wanted to minimize risk of settlement, so we decided to insert cell dividers that would essentially divide the columns into separate cells every four feet of height (at the top of each fibreboard sheet).
In terms of procedure, we’re still developing our ways. We’ve only just unpacked the new blowing machine in the waning light of the day, so we only had the time to put one bag of cellulose though it. Hardly enough to prove any methods. Our intent – so far – is to blow the cells one row at a time as we sheath the walls with fibreboard. We cover the cell with a temporary cover that allows the dense-pack tube into the cell. Air is vented with mesh in the cover but the cellulose is retained. Once the cell is packed, we remove the filling cover and put a permanent cover on. The advantages of this procedure are that it makes access very easy, we won’t have to cut into the fibreboard cells then repair the holes later, and we have much more positive control over completeness of the dense pack because we can see the final product.
As you can see, these are early days for our LT assembly. We’ll keep you posted on progress. In the meantime, keep your fingers crossed for the snow to hold off and the weather to be warm enough that we don’t freeze our fingers off!
Coming up in the near future: installing windows to be airtight in a deep wall.
Chris
No comments yet.